Sew a Pocket Diaper with the Very Baby Diaper Pattern
You can use your Very Baby Cloth Diaper Pattern to sew an easy pocket diaper.
Step 1: Cut one layer waterproof PUL (or heavyweight fleece) and one layer microfleece (or suedecloth). Cut 1/4″ extra all around the pattern, as we will be turning and topstitching. PUL does not stretch much, you might want to add an inch to each wing to lengthen it.

Step 2: As directed in the pattern instructions, cut the appropriate amount of Aplix loop for the front panel. You'll want to sew this on before you stitch the body layers of the diaper together so you don't inadvertently shorten your pocket. I almost *always* forget, so here I've unpicked my stitching to sew on the front loop.

Step 3: On your body layer pieces, mark where the back elastic starts and stops. This is where you will start and stop sewing, leaving an opening in the back for the pocket. With right sides together, sew around with 1/4″ seam allowance, leaving the space between the back elastic open.
Step 4: After you've got your pieces stitched together, mark where the leg elastic starts and stops. On the pattern, it has the elastic sewn in about an inch from the edge to make the fitted diaper ruffle. For the pocket diaper alteration, we're going to sew the elastic into the seam allowance, omitting the ruffle. So mark the elastic in the seam allowance.
Using the stretch and sew method, sew your elastic into the seam allowance:

Here is the leg elastic completed:

Step 5: Next, we're going to sew some elastic into the PUL side of the pocket opening. Fold the seam allowance over, sandwiching some elastic between. Use a zig zag or multiple zig zag stitch to stretch and sew.

Since neither PUL or microfleece will fray, you don't have to worry too much about getting it all in exactly right. Just do your best. Once the diaper is turned right side out, you can tack the edges of the opening down to make it look nice and neat.

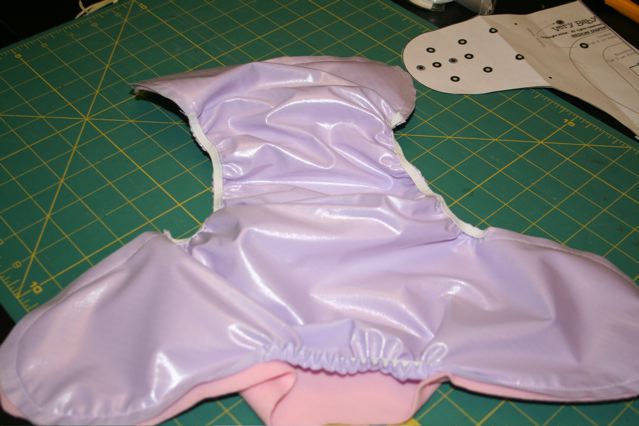
Here is all the elastic in the diaper finished:

Step 6 (optional): I like to finish the microfleece side of the pocket opening as well, though it isn't necessary to do so.
I just fold the seam allowance over and using a multiple zig zag, stitch it down.

Doesn't that look nice?

Step 7: Turn the diaper right side out, using your fingers to push the seams all along the edges completely right side out. Stitch on the aplix hook tabs and if desired, the fold back laundry tabs. And you're all done!

Don't forget your crossover aplix loop tab if you want one.

—
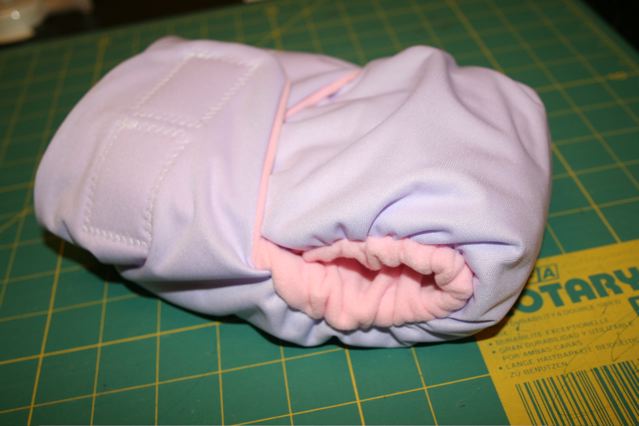
I had so much fun making that one, I made another right after and did a few things differently. Here it is with the elastic sewn into the seam allowance:

I like how neat topstitching makes diapers look, so after turning the diaper right side out, I topstitched the wing and front panel area with my needle in the far right position so I could get closer to the edge. I did not topstitch through the leg area as I like how the fleece rolls out for softness.
TIP: If you like your microfleece rolling inwards, sew your elastic to the seam allowance on the PUL side! It will cause your leg elastic to roll in instead of out. To secure it rolling inside, you can topstitch the leg area if you wish.

Both of the diapers I made are the medium long size, and they fit a trifolded prefold quite nicely. For smaller sizes, you'll likely need to make an insert from your favorite absorbent material to stuff inside… use the soaker length for each size as a guide for how short/long to make your inserts.

I was worried the topstitching would cause leaking, but my daughter wore this over night without leaking at all!
One fun thing I did, was to lop off the PUL wings, and stitch on microfleece wings in their place. This made the wings quite a bit more stretchy for a more customizable fit.

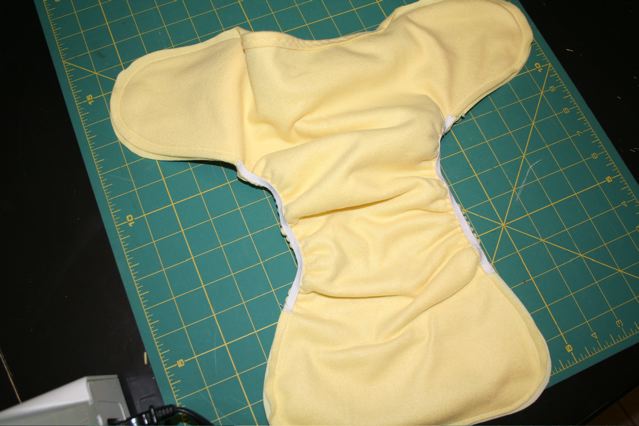
Here's the whole thing spread out so you can see the outside:

It fits great!


