Internal Soaker Instructions – Sewing Diaper Elastic with the Blind Method
Pattern: Very Baby Diaper Pattern
These photos and instructions were put together by Cindy at Shannyn's Harvest – thank you Cindy!
Some people like their soaker pads to be sewn right into the diaper so there aren't any parts to match up or lose. These diapers take a bit longer to dry, but they are great for babysitters and husbands who may not want to mess with a snap in quick dry soaker.
Step One: Mark and cut out diaper layers, pin together.
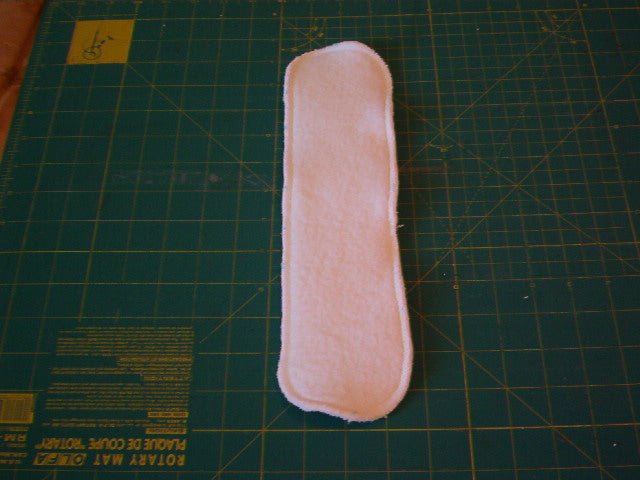
Step Two: Using the doubler pattern from the next size up diaper, cut out your internal soaker pieces (4), stack them all facing up, and serge or zig zag the edges.
Here is the soaker pad all serged.
Step Three: Center your soaker between the elastic lines of the leg openings. Be careful to avoid the Aplix and snap placement areas at the diaper front.
Sew soaker to innermost fabric layer (with absorbent side of soaker layers facing towards baby) using long straight stitches.
Step Four: Apply elastic to the backside of innermost fabric layer or use the hidden method.
Bonus Instructions: How to sew elastic in using the blind/hidden method!
- 1. Slide elastic in between fabric layers and nestle the end of the elastic just under your elastic anchor point marking.
- 2. Secure end of elastic by going back and forth a tiny bit.
- 3. Firmly (but not to it's fullest stretch) stretch elastic out between layers and secure by feel using either a long zig zag stitch or a 3 step zig zag stitch.
- 4. Go slowly, gauging where you are by the edge of the diaper and wiggling your elastic between the diaper layers to achieve proper positioning.
- 5. Secure the end of the elastic when you reach your end marking and clip elastic.
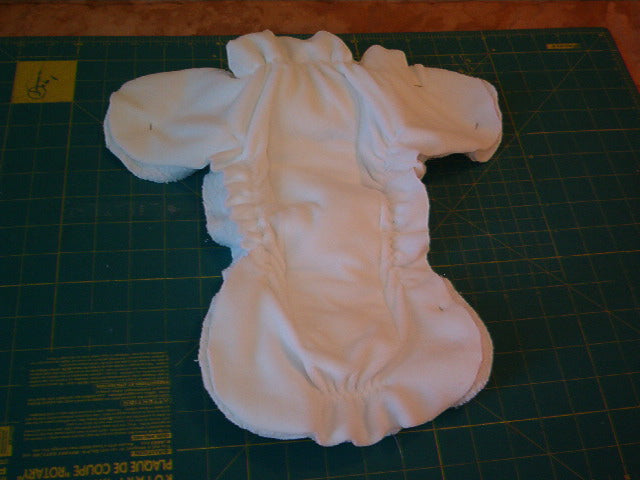
Step Five: Here is the elastic applied. Serge as you normally would, apply snaps or Aplix, and label.
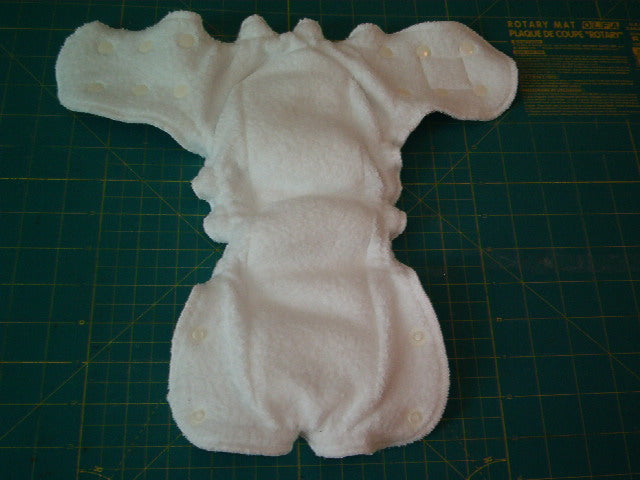
Step Six: Here it is all serged with the snaps applied.
Front snap diaper with internal soaker.
Side snap diaper with internal soaker.


